
Fixed Invalidation Level is a risk-management topic before it is a performance topic. A fixed invalidation level is the price where the reason for a trade no longer holds. Starting there keeps the market idea separate from the amount of exposure you want to take.
Table of contents
Fixed Invalidation Level: A Practical Framework
Fixed Invalidation Level works best when it is applied before entry and reviewed after the trade. It should help control the amount at risk, not create confidence that a market outcome is certain.
Define what would invalidate the thesis
The level should come from the structure or condition that supports the trade, such as a range boundary, a swing point, or a stated scenario. “I do not want to lose more” is a position-size constraint, not a market invalidation reason.
Measure the distance from proposed entry
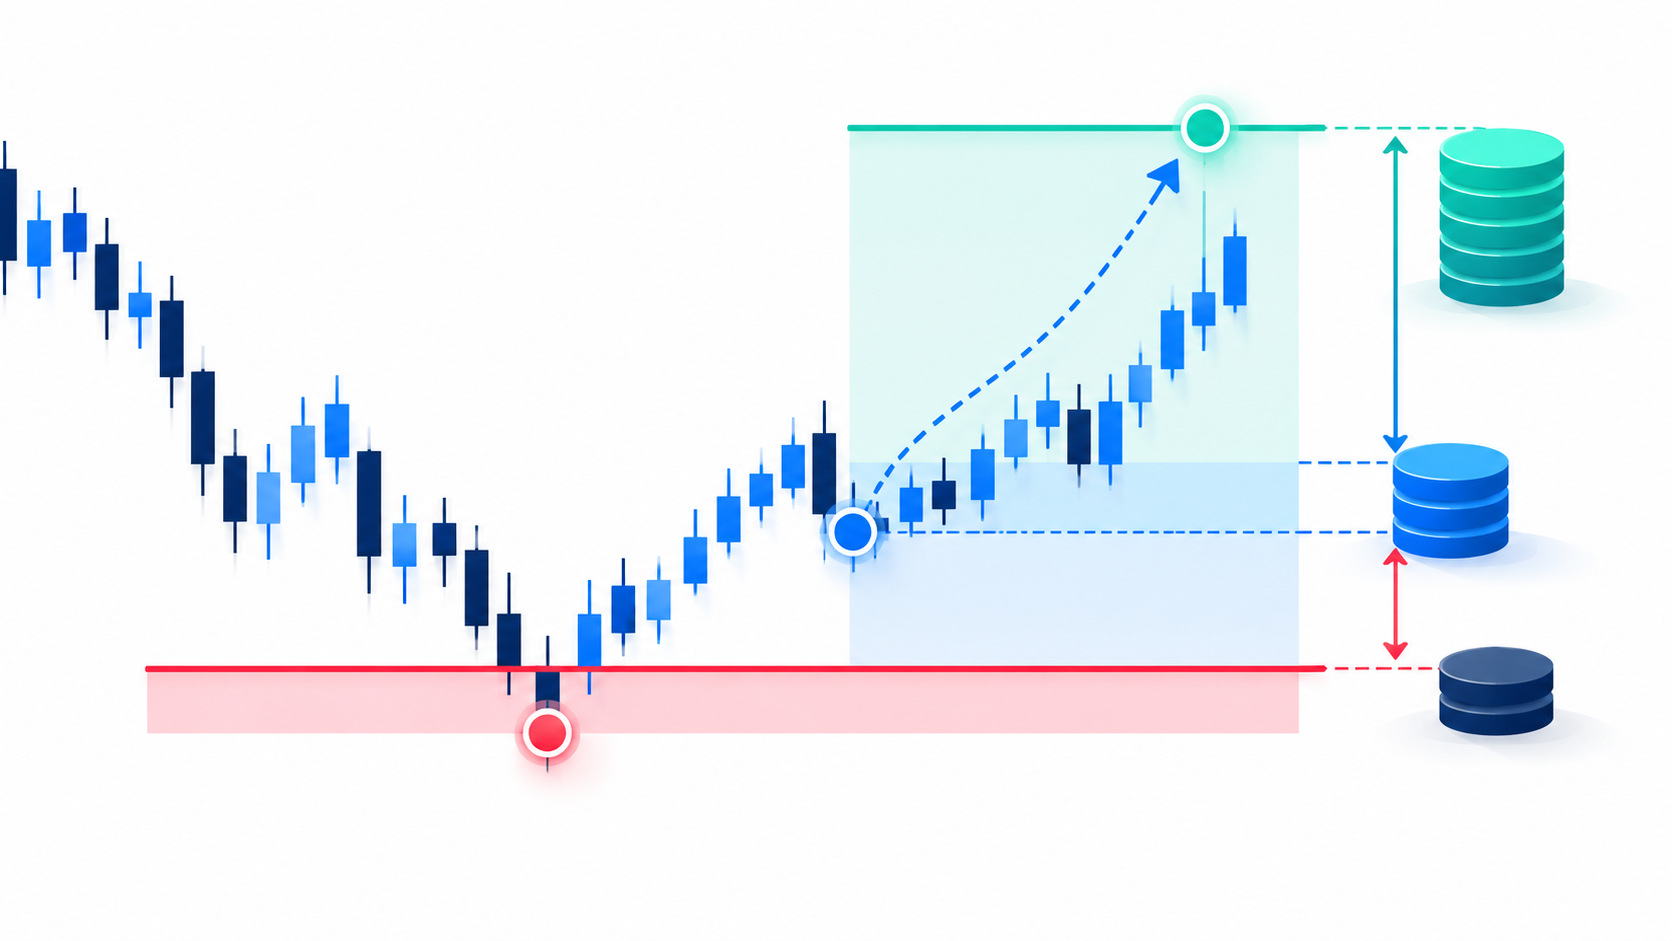
The entry-to-invalidation distance determines how much the market can move before the plan is wrong. This distance may change if the entry moves. Recalculate rather than using an old quantity from a different price.
Fit quantity to a fixed loss budget
Once the stop distance is known, use the maximum dollar loss to calculate quantity. If the resulting position is too small to justify the trade, that is useful information. It is safer than moving the stop closer only to force a larger order.
Set a target after risk is defined
A target should make sense relative to the market structure and the trade horizon. Risk and reward can be compared after the stop and quantity are honest inputs. A favorable ratio cannot rescue a setup whose stop or size is not valid.
Keep a contingency rule
Markets can gap, spreads can widen, and stop orders can fill away from the trigger. Decide in advance how to respond to a partial fill, a missed entry, or a change in the original setup. A fixed level is useful only while the underlying thesis remains current.
Common Mistakes to Avoid
A fixed invalidation level keeps the reason for exiting separate from the quantity the trader wishes to buy. Suppose a long idea fails below $95 and entry is $100. With a $40 price-risk limit, the illustrative maximum is 8 linear units before costs. Moving the stop to $98 solely to hold 20 units would change the thesis, not improve the risk calculation.
Keep fixed invalidation level connected to the same process. Use it before entry, use it when conditions change, and use the post-trade review to identify whether the plan or its execution needs improvement. This approach is deliberately less exciting than reacting to every move, but it makes risk measurable and repeatable.
Use the Calculators Before You Enter
Translate the plan into inputs before sending an order. The Position Size & Stop-Loss Calculator and Partial TP Break-Even Calculator can help test position size, remaining break-even, costs, or liquidation distance using your own assumptions. These tools provide estimates, not trading signals.
A Practical Checklist
- Write the entry, invalidation level, maximum dollar loss, and quantity.
- Check whether fees, funding, and likely slippage fit inside the loss budget.
- Confirm the liquidation estimate is not the intended exit.
- Use fixed invalidation level to improve a risk plan, not as a standalone prediction.
- Review the actual result and execution after the position is closed.
Further reading: Position and Risk Management — CME Group. Check the contract and fee rules published by the venue you use.
Further reading: Position and Risk Management — CME Group.
Educational content only; this article is not investment advice. Futures and perpetual products carry a substantial risk of loss. Rules, fees, and available products vary by exchange and jurisdiction.