
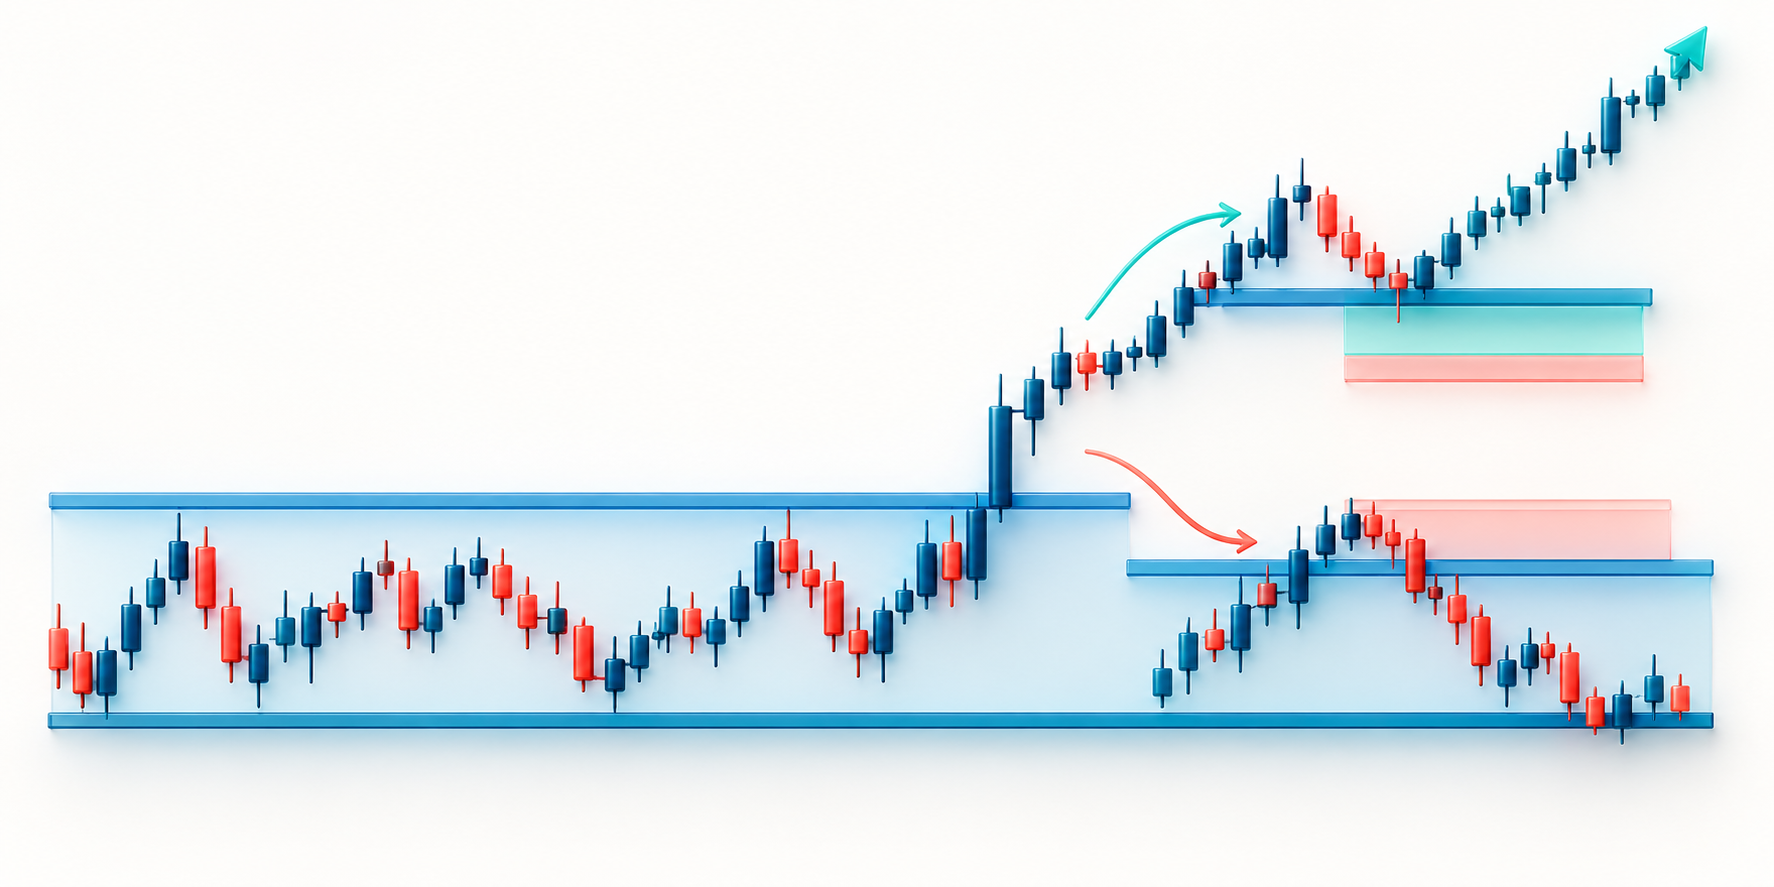
A breakout is a move beyond a previously observed price area. It can continue, retest the boundary, or return inside the old range. The plan is more useful when it defines which of those events qualifies as an entry and what would disprove the idea.
Choose a Trigger You Can Reproduce
One rule might require a candle close beyond the boundary; another might require a retest that holds. An intrabar touch is a different condition from a confirmed close. State the instrument, interval, boundary, and trigger before reviewing results so the rule is not changed after seeing the move.
Example: A Break That Closes Back Inside
Suppose price has repeatedly traded between $98 and $102, then trades at $103 but closes the next bar at $101.50. If the plan required a close above $102, no entry condition was met. If a position was already opened, the plan’s failure condition should guide the response. For an illustrative $103 entry, $101 stop, and $40 price-risk budget, the simple quantity is 20 units before costs. A fill at $104 changes the stop distance to $3 and reduces that estimate to about 13.3 units.
Fast Moves Change More Than the Chart
Breakouts can occur when the order book is moving quickly. A stop-market order may fill beyond its trigger; a limit order can cap price but may not fill. Calculate quantity from the likely or actual entry and the planned invalidation, and include spread and slippage assumptions. Do not widen a stop simply because a fast move made the original plan uncomfortable.
A Retest Is a Separate Rule
Some plans wait for price to revisit the broken area; others use a confirmed close without a retest. Requiring a retest can avoid some immediate entries but may miss moves that do not return. Entering before a retest may produce a different fill and stop distance. Choose one condition before testing and record missed trades as well as completed ones so the rule is not judged only from selected examples.
Review the Condition, Not the Story
Record whether the close or retest rule triggered, the actual fill, and whether price held beyond the level. A failed trigger is information about the rule, not proof that the next move must reverse. See CME Group’s guide to submitting futures orders and use the position-size calculator only after defining your risk inputs.
Educational information only; not investment advice. Futures and perpetual products can result in rapid losses. Exchange rules, fees, contract units, and available products vary. Verify details with your venue.